- Home
- How to Bake Pork Chops
- How to Bake Thin Pork Chops Without Overcooking
How to Bake Thin Pork Chops Without Overcooking
How to Bake Thin Pork Chops Perfectly: Avoid dryness with this foolproof method for juicy, tender results every time!

The Secret to Perfectly Baked Thin Pork Chops
There's nothing quite like the disappointment of sitting down to a dinner you've spent time and effort on, only to realize your pork chops have turned out tougher than a hockey puck. We've all been there, haven't we? But what if I told you that achieving juicy, tender, and perfectly cooked thin pork chops isn't as elusive as it seems? Believe me, with a few insider tips and tricks, even the most novice home cooks can serve up a dish that looks and tastes like it came straight from a professional kitchen.
Today, we're exploring the art of baking thin pork chops without overcooking them. Whether you're hosting a dinner party or just making a simple weeknight meal for your family, this guide will ensure your pork chops come out perfectly every time.
Why Choose Thin Pork Chops?
Before diving into the 'how,' let's talk about the 'why.' Thin pork chops, often around 1/4 to 1/2 inch thick, are a popular choice for many. Not only do they cook quickly, making them a convenient option for fast-paced meals, but when done right, they can be wonderfully flavorful and satisfying. The challenge, however, lies in their tendency to overcook and dry out quickly, which is exactly what we'll address in this recipe.
Ingredients
To start, you'll need the following simple ingredients:
- 4 thin pork chops
- 2 tablespoons olive oil
- 1 teaspoon garlic powder
- 1 teaspoon onion powder
- 1 teaspoon smoked paprika
- Salt and pepper to taste
- Fresh herbs (like thyme or rosemary) for garnish (optional)
Step-by-Step Instructions
Now, let’s walk through the steps to ensure your thin pork chops don’t just avoid overcooking; they shine as the star of your dining table.
Step 1: Preheat Your Oven
Start by preheating your oven to 400 degrees Fahrenheit (about 200 degrees Celsius). This high temperature is crucial as it helps sear the outside of the pork chops quickly, trapping the juices inside.
Step 2: Season the Pork Chops
While the oven heats, take your pork chops out of the fridge. Pat them dry with paper towels—this is key for a nice sear—and season them generously with salt, pepper, garlic powder, onion powder, and smoked paprika. These spices will give your pork chops a rich, savory flavor that complements the natural sweetness of the meat.
Step 3: Prepare for Baking
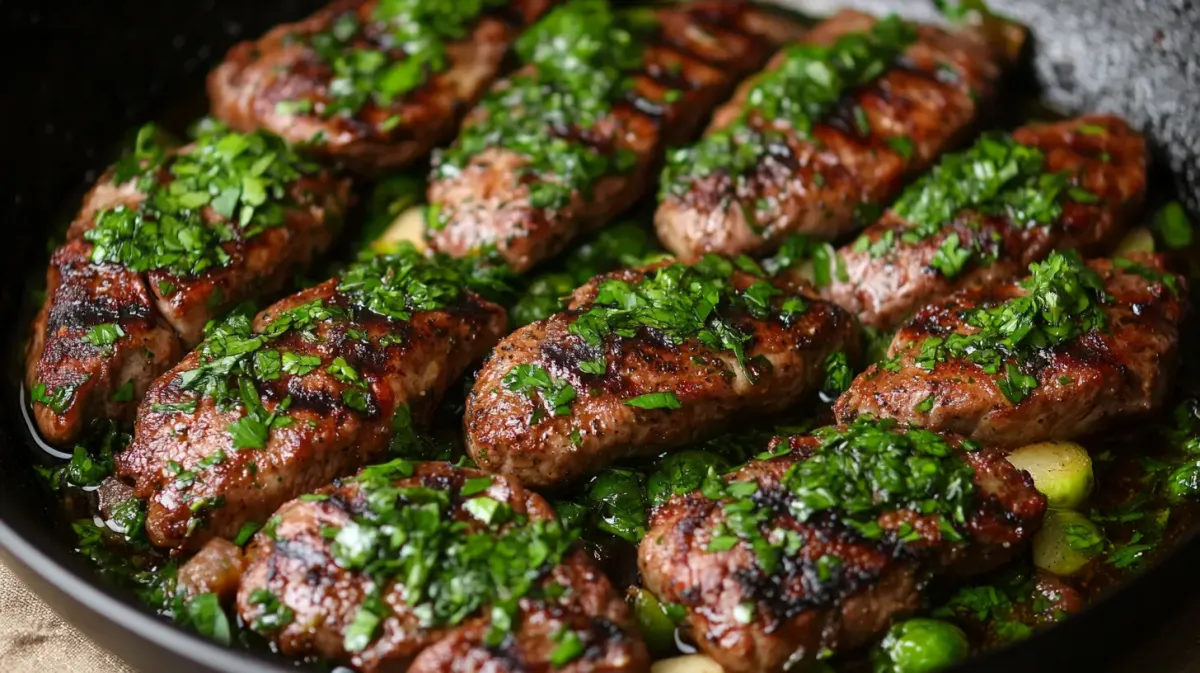
Heat the olive oil in a large, oven-safe skillet over medium-high heat. Once hot, add the pork chops. Sear each side for just about 1 to 2 minutes until they're golden brown. This step isn't about cooking them through, but about creating a delicious crust that will also help lock in those tasty juices.
Step 4: Bake
After searing, transfer the skillet directly into your preheated oven. Bake the pork chops for about 5 to 7 minutes. Remember, because these chops are thin, they will cook fairly quickly.
Step 5: Rest Before Serving
This might be the hardest part—waiting! Once you take your pork chops out of the oven, let them rest in the pan for about 5 minutes. This allows the juices that have bubbled up during cooking to redistribute throughout the meat, ensuring each bite is as succulent as the last.
Step 6: Garnish and Serve
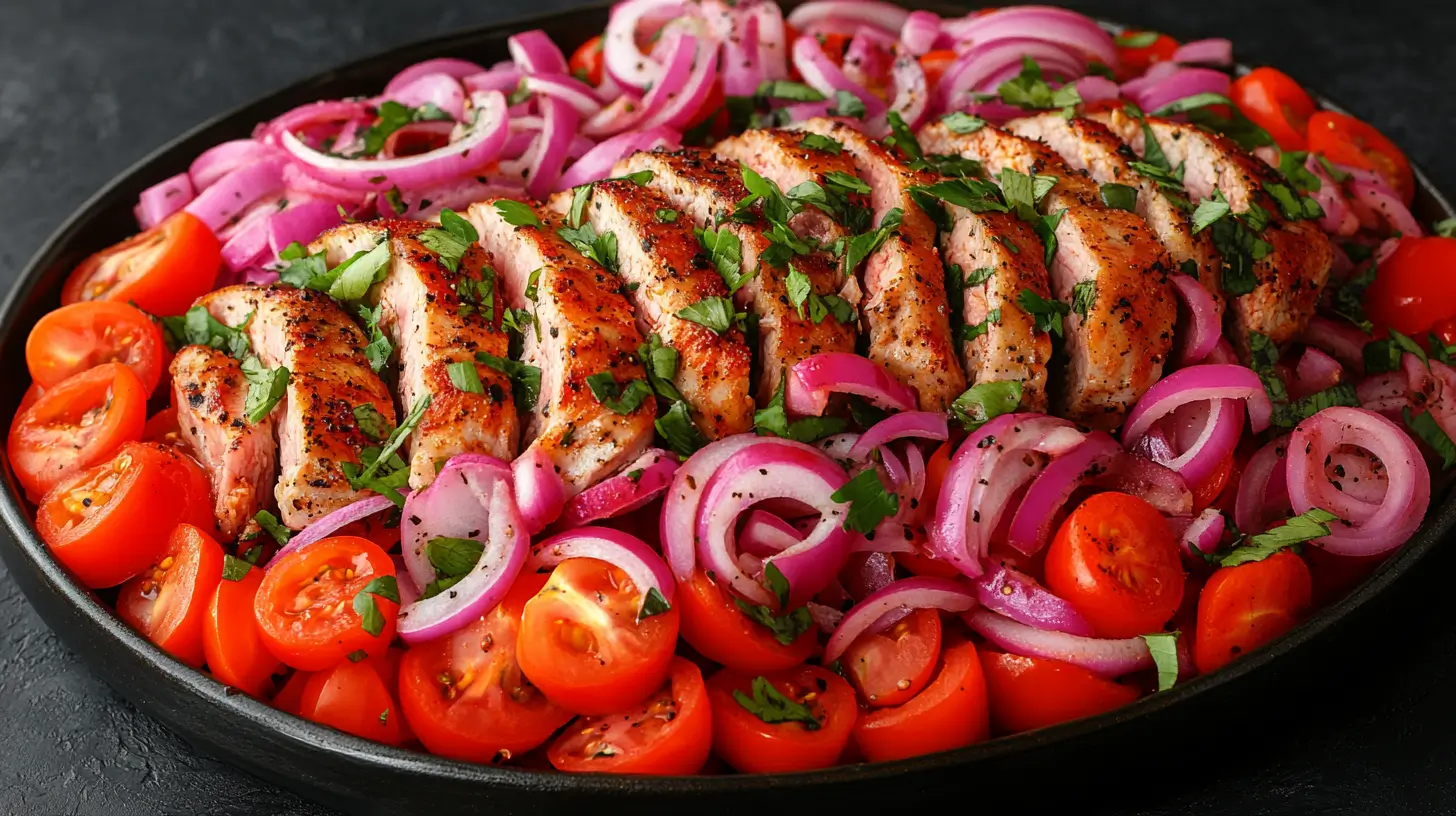
Gently transfer the pork chops to a serving platter. If you're feeling fancy, sprinkle some fresh herbs over the top for a dash of color and a burst of freshness. Serve hot and enjoy the fruits of your labor accompanied by your favorite sides.
Tips for Success
A couple of quick tips to keep in your back pocket:
- Temperature Matters: Use an oven thermometer to ensure your oven is the correct temperature. An accurate oven temperature is crucial for preventing overcooking.
- Don't Skip Resting: It might be tempting to cut into those chops straight out of the oven, but allowing them to rest makes all the difference.
- Thin vs. Thick: This method is tailored for thin cuts. Thicker pork chops will need a modified approach (primarily longer cooking times).
There you have it—a failproof method for baking thin pork chops that are as delicious as they are tender. While simple, these steps are the result of years of kitchen trials and errors, and they're designed to give you assurance and success in your cooking adventures. Now, who's ready to impress at dinner tonight?


