- Home
- How to Fry Pork Chops
- How to Fry Thin Pork Chops Without Overcooking
How to Fry Thin Pork Chops Without Overcooking
How to Fry Thin Pork Chops Perfectly: Avoid Overcooking with These Simple Steps & Tips for Juicy Results.

The Art of Perfectly Fried Thin Pork Chops
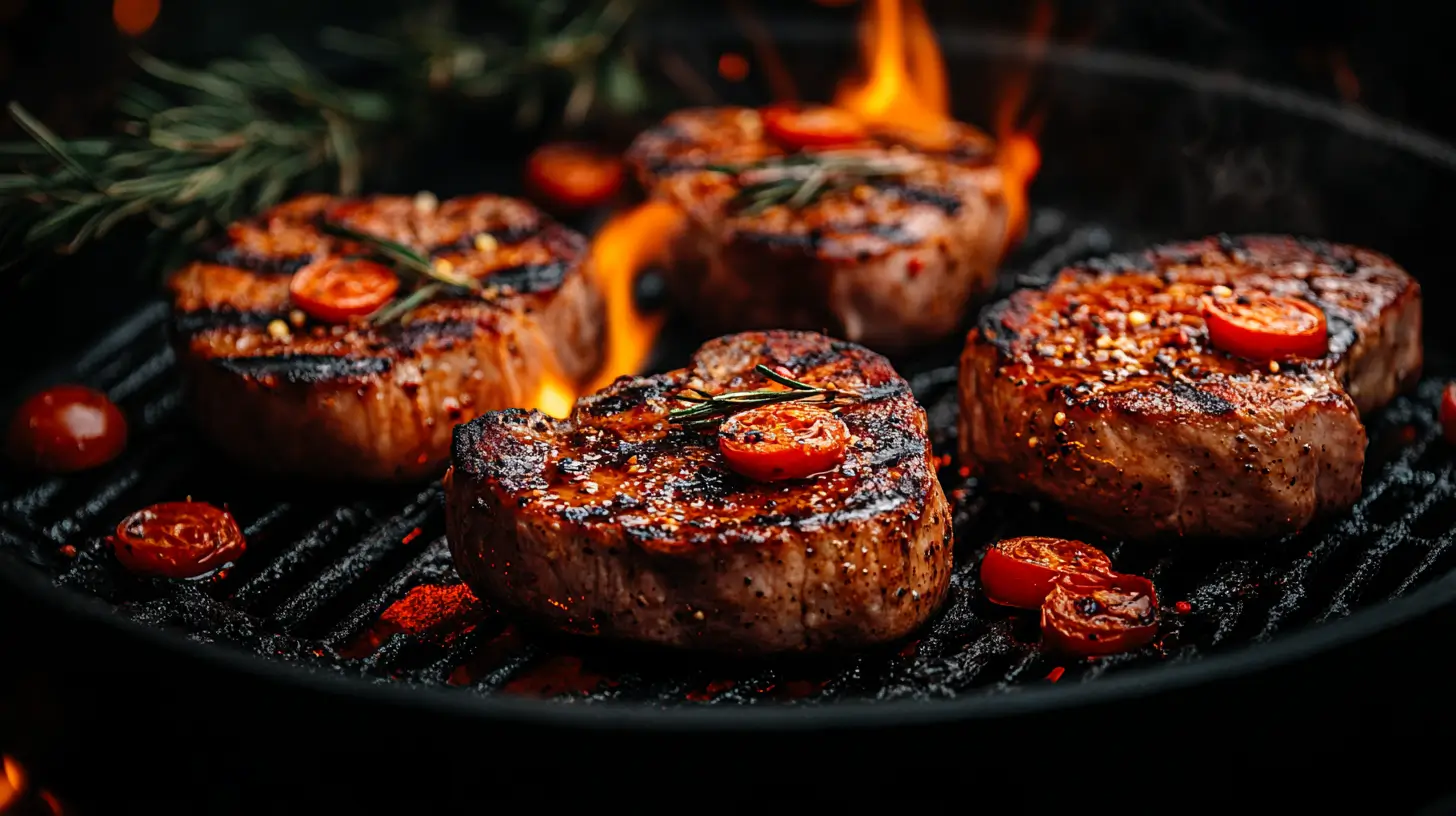
Ah, pork chops - a classic comfort food that many of us have grown up with. There's nothing quite like the sizzle of chops hitting the hot oil, the tantalizing aroma filling the kitchen, and that delightful first bite into a crispy, juicy piece. Yet, frying up thin pork chops can be a tightrope walk between deliciously tender and disappointingly dry. In this guide, I'll share with you the secrets to achieving perfect, succulent thin pork chops every time, ensuring you never face the dread of overcooked meat.
Understanding Your Pork Chops
Before we dive into the cooking process, let’s take a moment to understand what makes pork chops a special kind of challenge, especially the thin-cut variety. Unlike their thicker counterparts, thin pork chops cook incredibly quickly, which is a double-edged sword. It means a shorter cooking time, but also a narrower window to nail the perfect doneness.
Typically, pork chops come from the loin, which runs from the hip to the shoulder, and includes the most tender meat. For frying, we often use cuts without the bone, which cook even faster due to the lack of insulating bone.
Ingredients and Tools
First things first, let’s line up what you’ll need:
- 4 thin pork chops, boneless
- Salt and pepper to taste
- 1/4 cup of all-purpose flour (for dredging)
- 2 tablespoons of olive oil (or vegetable oil)
- Optional: spices such as paprika, garlic powder, onion powder for extra flavor
And for tools:
- A large skillet (preferably cast iron for even heating)
- A pair of tongs
- A plate lined with paper towels
- An instant-read thermometer
Preparation: Setting the Stage for Success
Begin by patting your pork chops dry with paper towels. Moisture is the enemy of a crispy sear, so this step is crucial. Next, season both sides of the chops generously with salt and pepper. If you’re using additional spices, mix these with your flour in a shallow dish and dredge each chop lightly in the seasoned flour, tapping off any excess. This not only adds flavor but also helps in creating that crave-worthy golden crust.
Frying Your Pork Chops to Perfection
Heat your skillet over medium-high heat and add the oil. Once the oil is shimmering and just about smoking, lay your pork chops in the skillet. If your skillet isn't large enough to fit all four chops without them touching, do this step in batches to avoid overcrowding the pan, which can lead to steaming rather than frying.
Here’s the critical part: cook the pork chops for about 2-3 minutes on each side. The exact time can depend on their thickness, so using an instant-read thermometer can help you pinpoint the right moment to take them off the heat. You’re aiming for an internal temperature of 145°F (63°C) - at which point the meat is safe to eat and wonderfully tender.
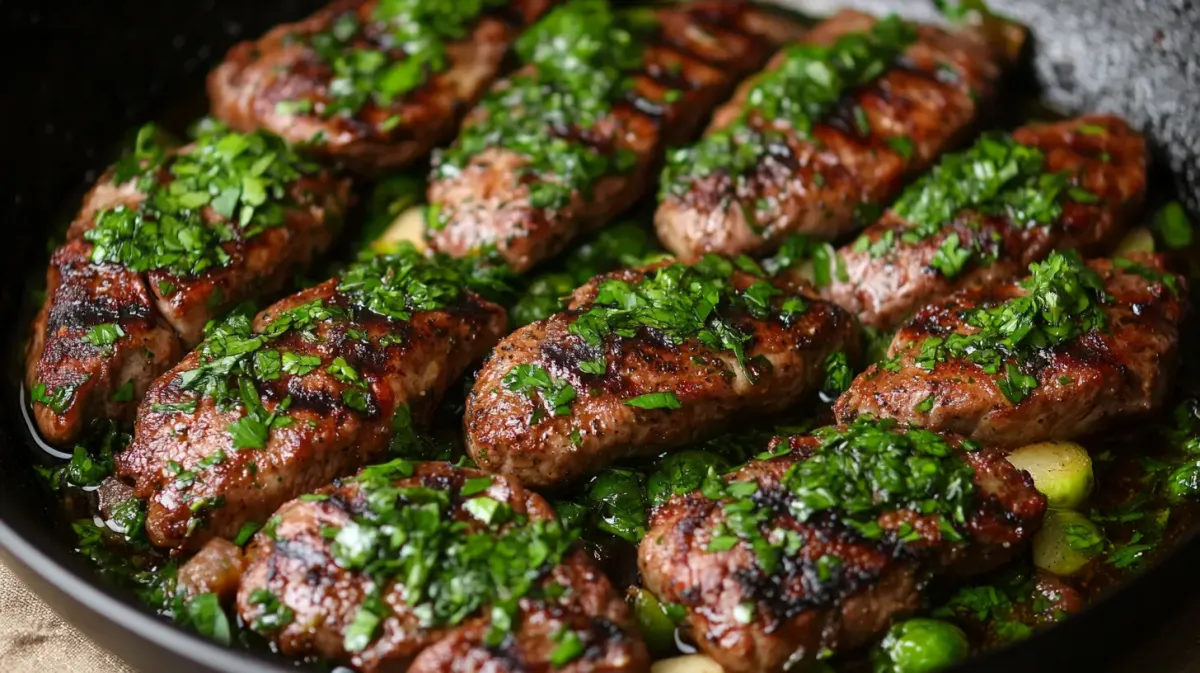
Once cooked, transfer your chops to the prepared plate with paper towels to drain any excess oil. Let them rest for a few minutes before serving. This little break allows the juices to redistribute, making each bite juicy.
Troubleshooting Common Issues
If you find your chops browning too quickly, lower the heat slightly. It could be your stovetop runs hot, or your pan is conducting more heat than anticipated. On the flip side, if the chops are pale and lackluster, your pan may not be hot enough. Adjust as needed — remember, every kitchen is different.
Final Touches and Serving Suggestions
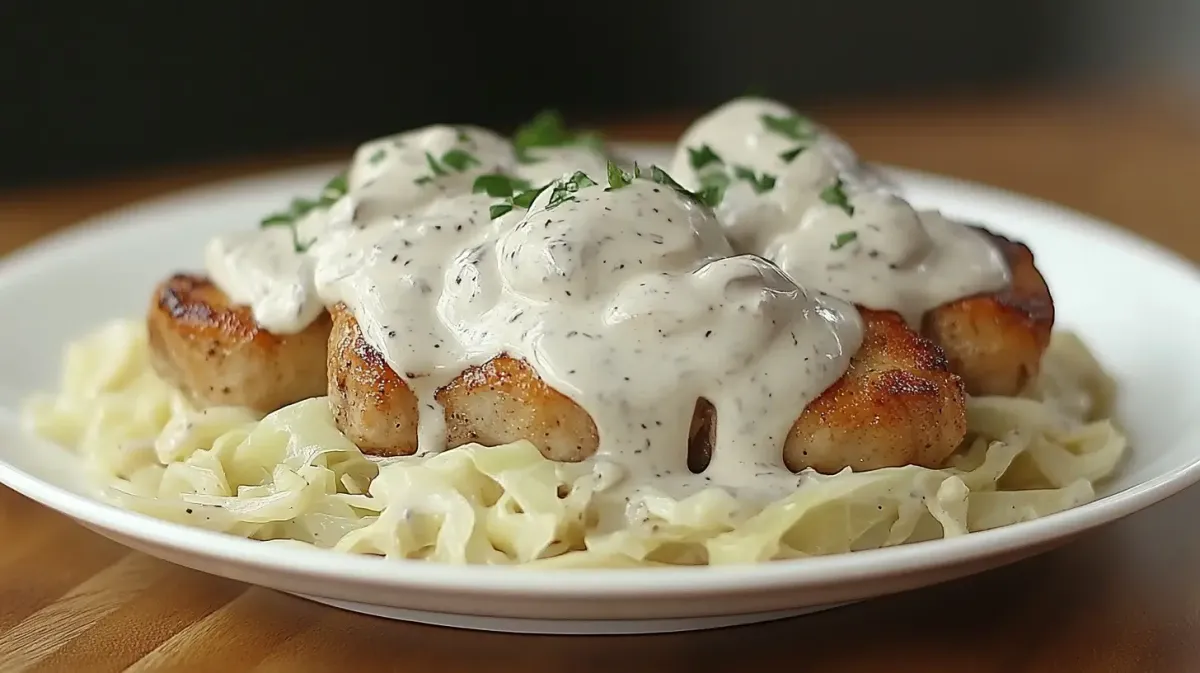
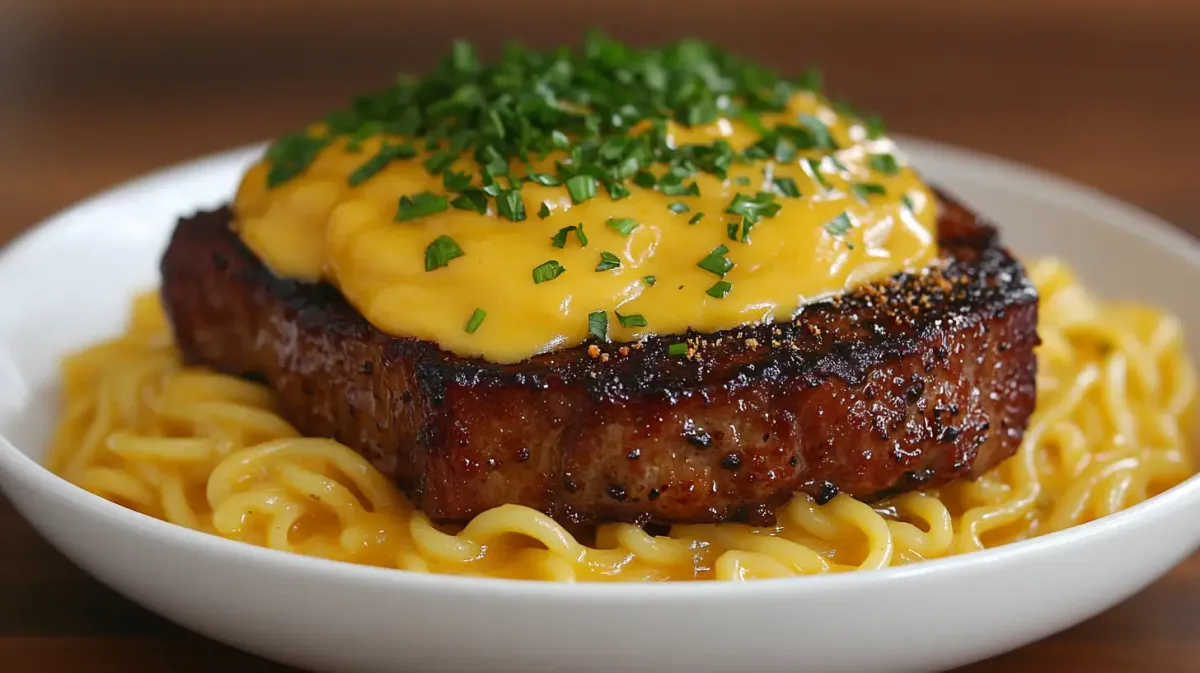
Now that you've mastered frying thin pork chops, it’s time to serve them. They’re excellent with a variety of sides — think mashed potatoes, steamed vegetables, or a crisp salad. For a finishing touch, consider a squeeze of fresh lemon or a drizzle of your favorite sauce.
Frying thin pork chops doesn’t have to be intimidating. With a little preparation and a watchful eye on the clock and temperature, you’ll turn out impressively delicious results that might just make this dish a family favorite. Happy cooking!
A Heartfelt Takeaway
Remember, cooking is part science, part art, and entirely an expression of love. Whether you’re cooking for yourself or for loved ones, every dish offers a chance to pour a bit of your heart into the meal. Perfection is a journey, and every meal gets you one step closer. Keep sizzling, keep smiling, and keep sharing those wonderful meals!


