- Home
- How to Fry Pork Chops
- How to Make Gravy from Pan-Fried Pork Chops
How to Make Gravy from Pan-Fried Pork Chops
How to make gravy from pan-fried pork chops: Follow simple steps for a rich, delicious sauce. Perfect topping for pork!

Unlocking the Secret to Perfect Pan-Fried Pork Chop Gravy
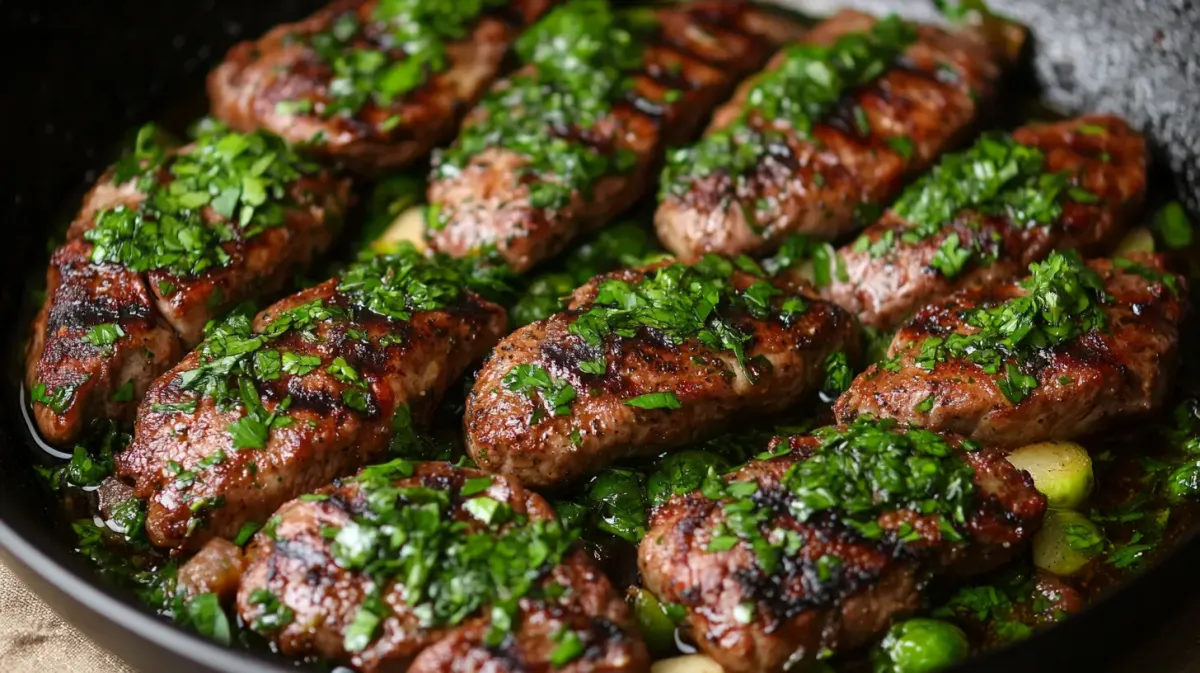
There’s something truly comforting about a hearty meal that ends with a luscious gravy made right from the pan drippings. It’s like kitchen alchemy at its best—simple ingredients transforming into something spectacular. If you've just made pan-fried pork chops and are wondering what to do with those flavorful bits left in the pan, you're in for a treat. Making homemade gravy is not only easy but also elevates your dish to a whole new level of deliciousness. Whether you're a seasoned home cook or a beginner, this guide will walk you through the steps to create a mouth-watering gravy from your pan-fried pork chops.
Ingredients You'll Need
Before we dive into the steps, let’s gather everything you’ll need. Gravy is quite forgiving, so don't worry if you need to make slight adjustments based on what you have at home.
- Pan drippings from your pork chops
- 1 tablespoon of butter (if needed)
- 2 tablespoons of all-purpose flour
- 1 cup of chicken broth or water
- Salt and pepper to taste
- Optional: minced garlic or onion, herbs like thyme or rosemary
Step-by-Step Guide to Making Your Gravy
Now, let’s turn those tasty pan residues into a velvety gravy that will have everyone asking for more.
1. Prepare the Pan
After your pork chops are done, remove them from the pan and set them aside to rest. You'll see some fat and juices left in the pan—this is where the magic begins. If there seems to be too little fat, add a tablespoon of butter to ensure you have enough to make the roux, which is the base of your gravy.
2. Make the Roux
Place the pan back on a medium heat. Sprinkle the flour evenly over the drippings and stir continuously. The flour will absorb the fat and begin to form a paste. Keep cooking and stirring for about a minute to cook off the raw flavor of the flour. This process will determine the color and taste of your gravy, so don’t rush it! A golden-brown roux adds a deep, nutty flavor to the gravy.
3. Add the Liquid
Slowly add the chicken broth or water while continuously stirring. Pour it in gradually to avoid lumps and ensure a smooth consistency. If you’d like to introduce additional flavors, this is a great time to add some minced garlic, herbs, or even a splash of wine. Let the mixture simmer, and as it does, it will begin to thicken.
4. Season and Serve
As the gravy simmers, taste it and season with salt and pepper. If you have used low-sodium broth or water, you might need a bit more seasoning than expected. Keep stirring until the gravy reaches your desired thickness—remember, it will continue to thicken a bit even after you remove it from heat.
Tips for Success
Making gravy is more of an art than a science, and here are a few tips to help you master it:
- Always cook the roux enough before adding any liquid to avoid a raw flour taste.
- If your gravy lumps up, don’t panic! Just keep whisking, and most of the time, those lumps will cook out. If they don’t, a quick spin through a fine sieve or a blender can fix it.
- Adjust the thickness by adding more broth or water if it's too thick, or allow it to simmer longer if it's too thin.
- Taste as you go! The seasoning can dramatically change depending on the fat content and the seasoning on your pork chops.
A Heartfelt Ending
Making your own gravy from the pan drippings of pork chops not only enhances your meal but also connects you to a tradition of cooks who knew how to use every part of their ingredients for maximum flavor. It’s a wonderful way to add a personal touch to your cooking, ensuring that nothing goes to waste. The next time you fry up some pork chops, give this recipe a try—you might find it becomes a new favorite in your culinary repertoire.
Remember, cooking is not just about following recipes—it's also about making them your own. So, put on your apron, grab those pans, and let's make some gravy that would make any grandma proud!


