- Home
- How to Tell When Pork Chops Are Done
- How to Tell When Pork Chops Are Done in the Oven
How to Tell When Pork Chops Are Done in the Oven
How to Tell When Pork Chops Are Done: Achieve juicy perfection by checking temp (145°F) & inspecting color. Quick tips for oven-baked chops!

The Art of Perfectly Baked Pork Chops: Ensuring They're Just Right
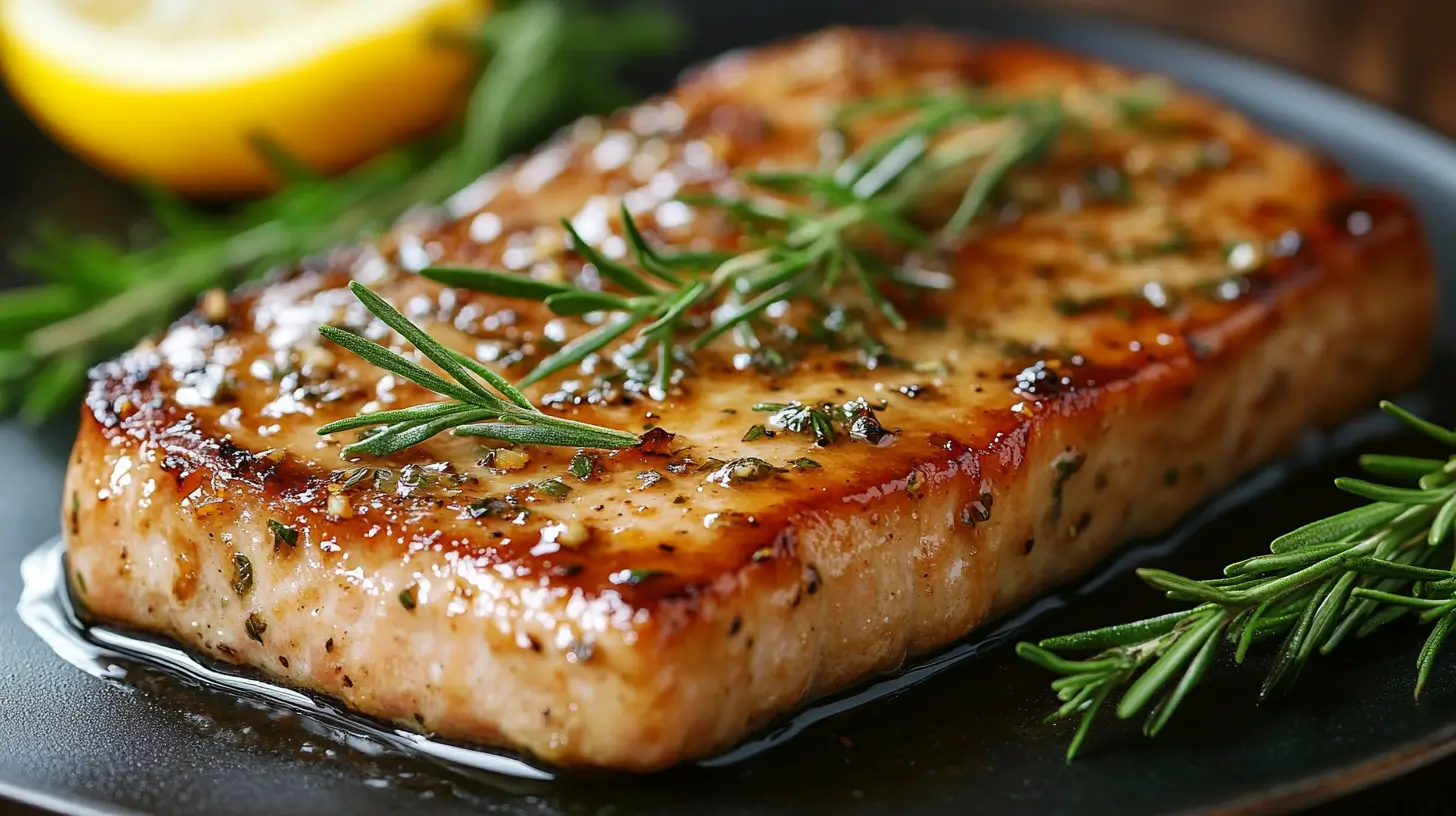
Oh, the humble pork chop—a staple in comfort food dining but oh-so-easy to get wrong. If you've ever faced the disappointment of a dry, overcooked pork chop, you know the struggle is real. Today, I'm here to guide you through the surprisingly simple cues to mastering the art of baking pork chops in the oven—juicy, flavorful, and just the perfect hint of pink in the center.
First things first, let's talk about the fear factor: undercooked pork. We've all heard the tales from our grandparents' kitchen, warnings against the perils of pink pork. But here's the good news—culinary standards have evolved, and so has our understanding of what makes pork safe and delicious. The key is to hit the right temperature, and I'll show you exactly how to do that.
Understanding Pork Chop Doneness
Not all pork chops are created equal, and different thicknesses and cuts (think bone-in versus boneless) require tweaks in cooking time. But the principles of checking their doneness remain consistent. Here’s your go-to guide:
The USDA's Updated Guidelines: In 2011, the USDA updated their recommended safe cooking temperature for whole cuts of pork from 160°F to 145°F, followed by a three-minute rest time. This change means that a slight blush of pink in your pork chops is not only safe but recommended for optimum juiciness and flavor.
Tools You'll Need
To ensure perfectly cooked pork chops, a couple of tools will be essential:
- Meat Thermometer: This is non-negotiable. A quick-read digital thermometer will give you the most accurate reading.
- Timer: Keep track of cooking times without guesswork.
- Oven: Preheated, of course! This ensures even cooking.
Now, let's delve into the process of checking for doneness.
Step-by-Step Guide to Baking Pork Chops
Here’s how you can avoid the pitfall of overcooked pork chops, broken down into simple, actionable steps:
- Preheat Your Oven: Start by preheating your oven to 375 degrees Fahrenheit. This is a sweet spot for pork chops as it cooks them thoroughly without burning the edges.
- Season Your Chops: While your oven warms, season your pork chops generously on both sides with salt, pepper, and any other spices you like. This not only enhances flavor but can also help to tenderize the meat.
- Cooking Time: Place the pork chops on a baking sheet or in an oven-safe skillet. For bone-in pork chops about 1-inch thick, start checking for doneness at about 20 minutes. If they’re boneless or thinner, start checking a few minutes sooner.
- Check the Temperature: Insert the thermometer into the thickest part of the chop without touching the bone. If it reads 145°F, they’re done. If not, give them a few more minutes.
- Rest Them: Once your pork chops reach the perfect temperature, let them rest for three minutes. This allows the juices to redistribute throughout the meat, making each bite succulent and tasty.
Additional Tips for Juicy Baked Pork Chops
Here are a few extra pointers for ensuring your pork chops don’t dry out in the oven:
- Don't Skip the Rest: It might be tempting to cut into your beautifully cooked pork chops right away, but the rest period is crucial for moisture retention.
- Keep the Seasoning Simple: Overcomplicating the flavor profile can mask the natural taste of the pork. Sometimes, less is more.
- Consider Brining: For an extra guarantee of moistness, consider brining your pork chops in a saltwater solution for a few hours before cooking. This helps in moisture retention.
Wrap-Up and Final Thoughts
Armed with the right temperature guidelines, a reliable meat thermometer, and these simple steps, you’re set to serve up perfectly baked pork chops. Whether it’s a quiet dinner at home or a gathering with friends and family, these pork chops will please any crowd. Remember, the journey to a juicy pork chop begins with trust—in your tools and in your skills as a cook.
Happy cooking, and more importantly, happy eating!


