- Home
- How to Tell When Pork Chops Are Done
- Visual Cues to Watch for When Pork Chops Are Ready
Visual Cues to Watch for When Pork Chops Are Ready
How to Tell When Pork Chops Are Done: Look for These Visual Cues!

Visual Cues to Watch for When Pork Chops Are Ready
There's something deeply comforting about cooking a meal that turns out just right, especially when it involves a golden seared pork chop, which can sometimes seem a bit intimidating to perfect. Whether you're a seasoned home cook or just starting your culinary journey, knowing exactly when your pork chops are perfectly cooked by observing visual cues can make all the difference in achieving that ideal balance of juicy and tender. Let’s unravel this culinary mystery together—one sizzle and sear at a time.
Understanding Pork Chops: A Quick Overview
Before we dive into those visual cues, let’s talk briefly about pork chops themselves. Pork chops are cut from the loin, which runs from the hip to the shoulder, and encompass several different cuts—each with its unique qualities. From the boneless to the ribeye chop, the tenderloin to the sirloin chop, the variation is enough to make your kitchen never dull.
Cooking methods can vary widely, but whether you’re pan-frying, grilling, baking, or even air frying, the principles of knowing when they’re done remain consistent. This guide will focus on these visual signposts, ensuring your chops are pulled from the heat at just the right moment.
Visual Cue #1: Golden Brown Perfection
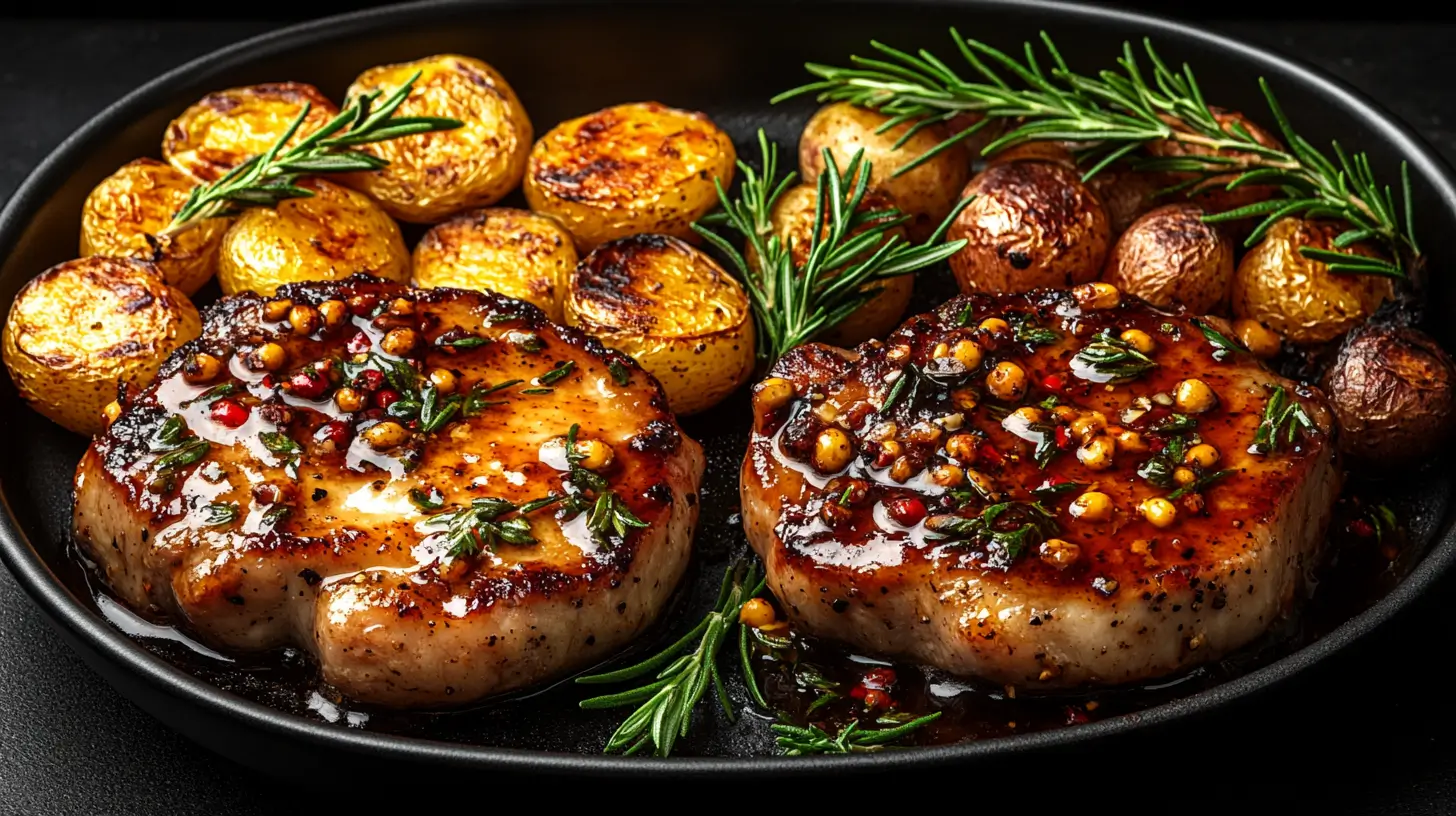
The first thing to look for is that beautiful, golden-brown crust. Whether you're cooking your chops on the stove or grilling them, that rich color is your first clue. It develops from the Maillard reaction, a chemical reaction between amino acids and reducing sugars that gives browned foods their distinctive flavor.
- Tip: High heat is crucial to achieve this without overcooking the interior. Let your pork chops come to room temperature before cooking, which helps them cook more evenly.
Visual Cue #2: Meat Retraction
As pork chops cook, the meat naturally starts to pull away from the bone, which is a tell-tale sign they’re nearing readiness, particularly noticeable if you're cooking bone-in chops. It's like the meat is saying, "Hey, I'm almost there, keep an eye on me!"
- Tip: Combining this visual cue with a reliable meat thermometer to confirm doneness can prevent overcooking. The USDA recommends cooking pork chops to an internal temperature of 145°F (62.8°C), followed by a three-minute rest.
Visual Cue #3: Juices Run Clear
While slight pinkness near the bone can sometimes remain, the juices from your pork chops should generally run clear or very slightly pink when they’re cooked properly. If you see clear juices, it’s a good indicator that your pork chops are just about done.
- Tip: After removing from the heat, let your pork chops rest covered with foil. This allows the juices to redistribute, ensuring a moist, tender chop.
Visual Cue #4: Shrinkage and Firmness
Pork chops will naturally shrink a little and tighten up as they cook. A firm (but not hard) texture when lightly pressed with tongs or your finger indicates that they are no longer raw in the middle. Just be sure not to press too hard; you don’t want to squeeze out those tasty juices!
- Tip: This method takes a little practice, so feel free to use a meat thermometer alongside until you get the hang of it.
Bringing It All Together
Armed with these visual indicators, making perfectly cooked pork chops can quickly move from a kitchen challenge to an easily conquered task, turning everyday cooking into a joyful and successful experience. Remember, the best way to become confident in the kitchen is by understanding the signs your food gives you—much like getting to know a friend’s preferences. And let’s be honest, who wouldn't want to be friends with a perfectly cooked pork chop?
Now, you are ready to impress your family and friends with your newfound pork chop prowess. Go ahead and put these tips to the test! Whether it’s a weeknight dinner or a special occasion, a beautifully cooked pork chop is sure to satisfy.
Keep these tips in mind during your next pork chop adventure, and never face the disappointment of an overcooked or undercooked chop again. Let your senses be your guide, and most importantly, enjoy every bite. Happy cooking!


